Showing posts with label cookies. Show all posts

Thursday, November 29, 2012

Hazelnut Crescent Cookies

It is that time in Colorado when one day it is blustery and cold with snowflakes in air and then the next day it is 70 degrees and sunny. We have to check the weather channel in the mornings to know whether a coat and mittens are appropriate, because it is possible that a simple long-sleeved tee will do the trick. But whatever you are wearing, you walk into Target and you are greeted with large displays proclaiming that the holidays are coming! Quick, buy something! Gifts! Lights! Wreaths!

I am happy to say that I haven't bought a single thing. I haven't even hung the wreath on the door. But I have done something far more important: I have made some holiday cookies.
 These types of nut cookies have always been favorites of mine. I like that you can easily sub out the nut if you don't happen to have the one called for. (Hazelnuts are so delicious, but pecans would also be perfect.) Their shortbread-y texture means that they practically melt on your tongue. And I don't know what it is about that quick roll in the powdered sugar that they get, but they just look and taste festive.
 
My 3-year-old has been begging me to make cookies lately. I'm sure she would have preferred that I work some chocolate chips into the recipe somehow, but she still had a lot of fun shaping the cookies into little crescent moons. If I didn't watch closely, she would simply ball them up and put them on the cookie sheet. "Full moons," she explained. 


Hazelnut Crescent Cookies


Adapted from Food & Wine

  • 1 cup (2 sticks) unsalted butter
  • 1 cup confectioners' sugar, divided
  • 3 large egg yolks
  • 1 1/2 tsp vanilla extract
  • 1/2 tsp salt
  • 1 3/4 cup all-purpose flour
  • 3/4 cups hazelnuts

1. Preheat your oven to 350 F.

2. Grind your hazelnuts in a food processor until finely ground. (The original recipe called for blanched hazelnuts, but I didn't have them and unblanched worked just fine.)

3. Place parchment paper on two cookie sheets. In a large bowl, use a mixer to beat the butter with 1/2 cup confectioners' sugar until pale and fluffy. Add the egg yolks, vanilla, and salt, and beat until blended. Beat in flour and ground hazelnuts.) Cover the dough and refrigerate until firm, about 30 minutes.

4. Use about 2 tbs of dough for about each cookie, and roll them and shape them into crescent shapes. As you shape, place each cookie on the trays, about an inch apart from each other. Bake the cookies for about 18 minutes, until lightly browned. Let them cool until ready to handle (5 minutes or so).

5. Spread the remaining 1/2 cup of confectioners' sugar in a shallow bowl. Gently dip each cookie into the sugar and coat evenly. Transfer cookies to wire racks and let them cool completely. Makes about 20 cookies.

Sunday, December 18, 2011

Chocolate Crackle Cookies

We made these classic cookies with melted 90% dark chocolate, so they’re super chocolaty - almost fudgy - with a crispy, crackly exterior. 
chocolate crackle cookies 3
They’re not difficult to make – the main thing to keep in mind is that this dough needs to be chilled, because at first it’s so soft that you can’t roll it into balls.  That’s due to the (warm) melted dark chocolate we add, but the extra wait in the fridge is worth it for all that chocolate goodness.
chocolate crackle cookies 2
The coating of powdered sugar crackles so prettily in the oven – you really don’t have to do anything – it just happens!  The contrast makes for a beautiful cookie that’s not fussy at all.
chocolate crackle cookies 4
Oh, and a little warning from us to you:  these cookies require a glass of cold milk.  Hot coffee might work too…someone will have to let us know on that one.  We never made it that far.
chocolate crackle cookies 1

Chocolate Crackle Cookies

Recipe inspiration thanks to Martha Stewart
Yield approx 36 cookies
  • 6 oz melted dark chocolate (I used 90% dark)
  • 1 1/4 c flour
  • 1/2 c cocoa powder
  • 2 tsp baking powder
  • 1/4 tsp salt
  • 8 Tbsp (1 stick) butter, room temperature
  • 1 1/3 c brown sugar, firmly packed
  • 2 eggs
  • 1 tsp pure vanilla extract
  • 1/3 c milk
  • 1 cup confectioners' sugar, for rolling
Don’t preheat the oven yet, this dough will need to chill for 2 hours or so.
Melt dark chocolate gently.  Mix dry ingredients (flour, cocoa, baking powder, and salt).  Cream sugar and butter together, then beat in eggs and vanilla.  Pour melted dark chocolate over the creamed butter and sugar, blend, then add dry ingredients & milk (alternating between the two to prevent puffs of flour getting all over the place).
The dough will be very sticky.  Cover the bowl loosely in plastic wrap and chill for approx 2 hours, or until dough is hardened and can be handled.
Preheat oven to 350. Scoop out spoonfuls of hardened dough, roll between your palms to form a ball, then toss the ball into a bowl of powdered sugar to coat it.  If the dough gets too sticky to handle, pop it back in the fridge or freezer to cool it back down.  Line cookie up on the sheet (not too closely – they spread) and bake at 350 for 12-15 minutes.
chocolate crackle cookies 5

Thursday, December 1, 2011

Raspberry Thumbprints

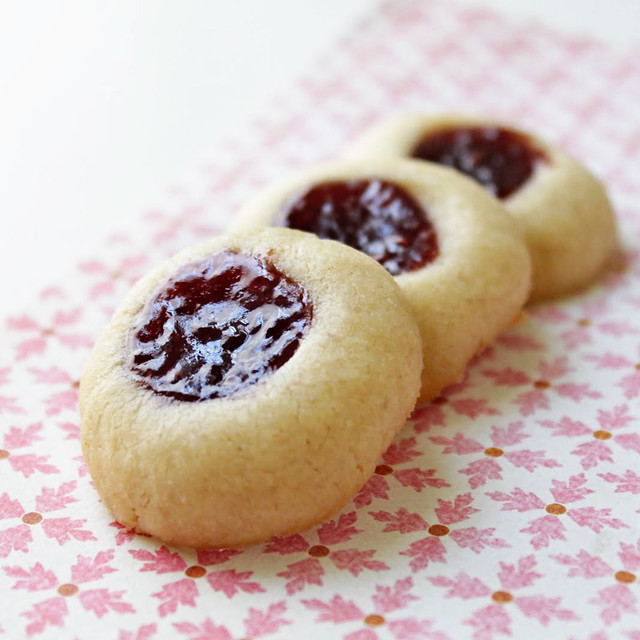
This is a no-frills cookie that is surprisingly delicious. We consumed almost the whole tray within 30 minutes after baking them. They are perfect for the holiday season and fun to make with kids. (This is one of those rare occasions where it is okay to smash your fingers into the dough.)

This cookie is very similar to a shortbread -- buttery and with tender crumb. The raspberry preserves add a bit of excitement. Usually, this style of cookie is rolled around in some chopped nuts before baking, but I didn't have any on hand (and I didn't miss them).
The ingredients (except for those pesky nuts) are the type of straightforward ingredients that you always have in your pantry and fridge. Perfect for some impromptu baking on a chilly day. These cookies were -- no surprise -- a huge hit with the kids. Sarah's finicky toddler was skeptical and would only eat the jam at first. But soon he realized the error of his ways.
Raspberry Thumbprints
adapted from Hay Day Country Market Cookbook

Yield was approx 20 for us, but the cookbook estimated 24 cookies.

  • 8 tbs (one stick) unsalted butter, at room temperature
  • 1/3 cup sugar
  • 1/2 tsp pure vanilla extract
  • 1/4 tsp salt
  • 1 egg yolk
  • 1 cup all purpose flour
  • 1/4 cup raspberry preserves
1. In a large bowl, cream butter and sugar together with a mixer until well blended. Add the vanilla, salt, and egg yolk, and beat until fluffy.
2. Add flour and mix until it forms a stiff dough. Scrape dough onto a large sheet of wax paper and roll it back and forth to make a long rope about 3/4 inch in diameter and 12 inches long. Roll it up tightly in the wax paper and refrigerate until firm, about 30 minutes. (The dough can be prepared to this point up to 3 days in advance.) Remove from the fridge and let it rest for 10 minutes at room temperature before proceeding.
3. Preheat oven to 300 degrees F. Unwrap and slice chilled dough into 1/2-inch-thick pieces. Roll them into ball shapes and space them 1 inch apart on an ungreased cookie sheet. Make a small indentation in the center of each one by pressing down on it with your thumb. Fill each hollow with 1/4 teaspoon of preserves.
4. Bake, rotating pan once, until very lightly browned, 18 to 20 minutes. Remove from the oven and allow to rest for at least 5 minutes on the baking sheet before transferring to wire racks to cool. Careful: the jam is very hot!
 

Thursday, September 22, 2011

Peanut Butter Cookies

It’s finally fall! It feels like back to school time!  We enjoyed our last blast of summer over the weekend with Dulcie’s Palisade peach ice cream, but then I had to force us into fall mode with these peanut butter cookies:


Actually I don’t think any “forcing” was involved.  Fall is my favorite season, and I am pretty sure Dulcie agrees.  These peanut butter cookies seem like the perfect thing to pack in your kids’ lunch box…if only I had a five year old, not a two year old.  I’ll have to hold that thought for a few more years.

I didn’t bother with making the fork-criss-crosses on the tops of the cookies, but you could certainly do that if you were so inclined. It’s just that I’m “too efficient” to finish off details like that.

These are as simple as it gets, as far as peanut butter cookies go. Butter, flour, sugar, peanut butter, and the other usual cookie stuff (and by that I mean baking powder, etc, etc). They’re chewy and soft and everything a peanut butter cookie should be.

Classic Peanut Butter Cookies

  • 1/2 c sugar
  • 1/2 c brown sugar (packed)
  • 1/2 c softened butter
  • 1/2 c peanut butter
  • 1 egg
  • 1 1/4 c flour
  • 3/4 tsp baking soda
  • 1/2 tsp baking powder
  • 1/4 tsp salt
Cream together the sugars and butter until creamy (about a minute). Add in the egg and peanut butter and beat thoroughly. Add the dry ingredients on top of the blended wet ingredients, then stir together until fully incorporated.  Use a large tablespoon to scoop out walnut-sized balls of cookie dough, place on a parchment lined cookie sheet, and bake at 375 for 8-10 minutes.  I read somewhere that you can make chewier cookies if you bake these at 300 for 15 minutes.  If you try that, let us know!
Thank you to simplyrecipes.com for the delicious recipe inspiration.

Wednesday, August 17, 2011

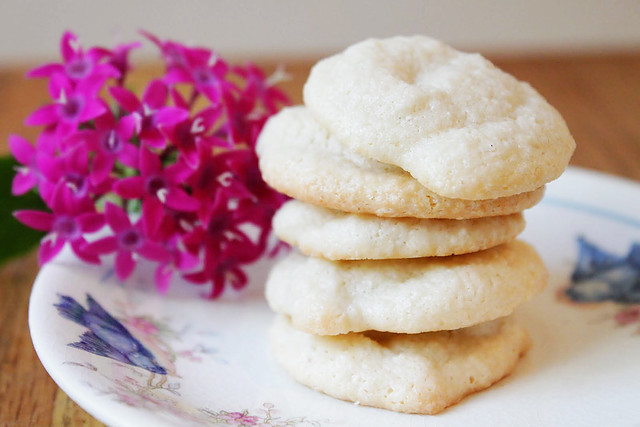
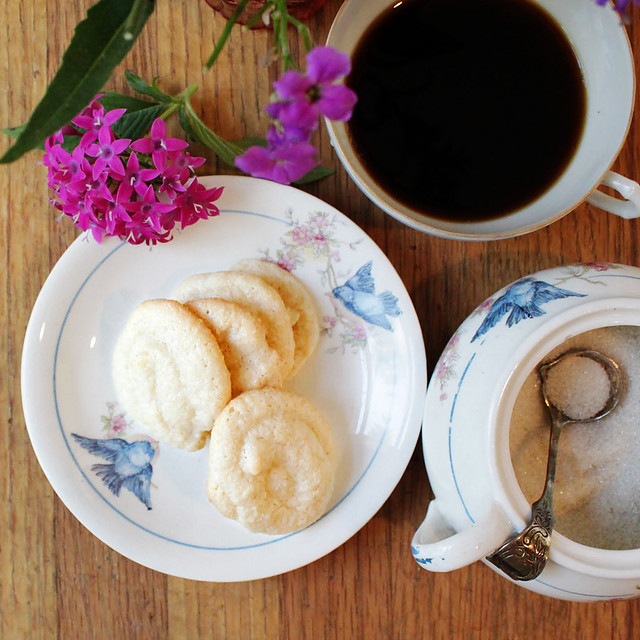
Chewy Almond Cookies

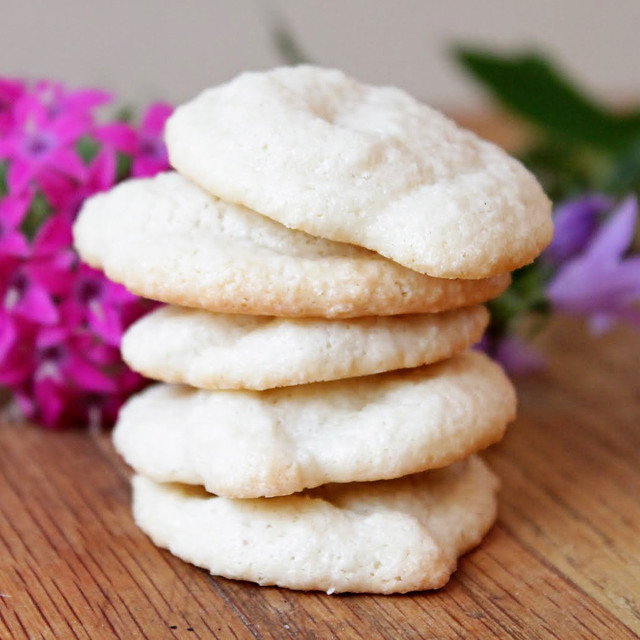
These cookies may be the best way to use our homemade almond paste.  These are very simple with only three ingredients (almond paste, sugar, and egg whites) which lets the fresh taste of almond paste shine through.


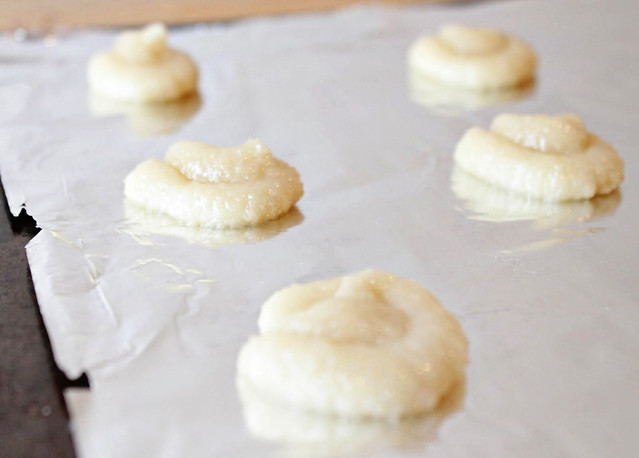
The dough is easy to make with a food processor, then needs to be piped onto parchment paper lined baking sheets.  We didn't have a pastry bag so filled a ziploc bag with a corner snipped off.  It worked perfectly!  Just make sure part of the bag doesn't pop open while you're squeezing the dough out. That may have happened to us...


They are chewy and sticky in the best possible way.  Make sure you let them cool completely before peeling them off the baking sheets.


Chewy Almond Cookies

  • 1 cup homemade almond paste (or one 7oz tube of store bought paste)
  • 1/2 c. sugar
  • 2 egg whites, brought to room temperature
  • pinch of sea salt
Recipe inspiration thanks goes to Chewy Amaretti Cookies at Smitten Kitchen.
Preheat oven to 300.

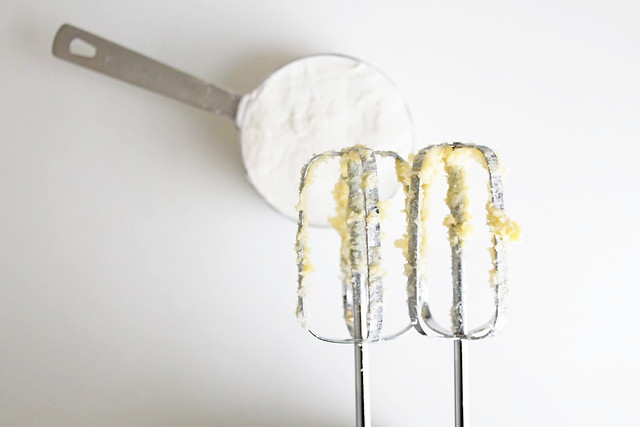
Put the almond paste, sugar, and salt in the food processor and pulse until combined.  Then, let the food processor run while you drizzle in the egg whites and a silken thick paste forms.

Scoop the dough into a pastry bag (or a ziploc bag if you’re ghetto like us).  Snip off the end and pipe 1.5” round cookies onto a pan lined with parchment.  We used foil because we were out of parchment, and although the cookies did come off OK it was nerve wracking. So we don’t recommend it.  Unless you’re desperate.

Bake cookies for 15-18 minutes until just turning light brown on the under-edges.  Cool completely before removing from tray.

Friday, March 18, 2011

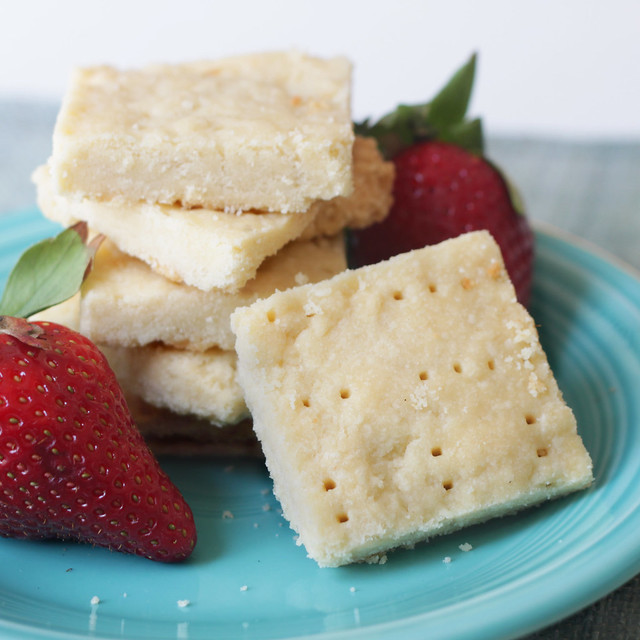
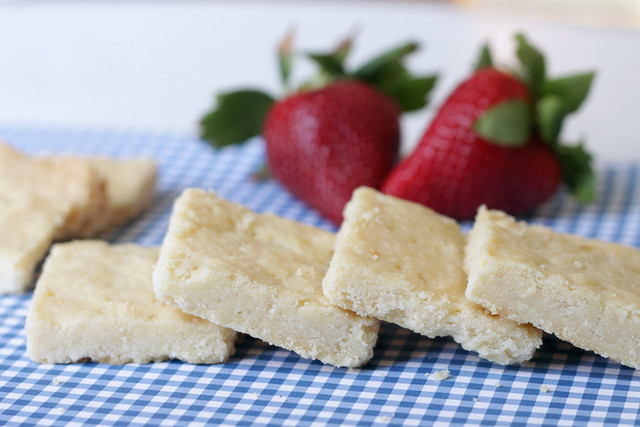
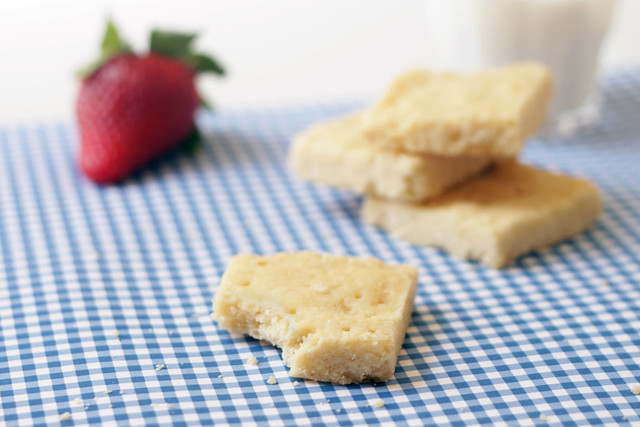
Scottish Shortbread

The other day we took a stab at making homemade butter in the food processor. It was absolutely delicious.

So here I am with about a cup and a half of lovely fresh butter wondering how I should use it. I will say that probably the best way to really appreciate the nuances of fresh butter is just slathering it on some fresh bread. Perfection. But I wanted to choose a recipe that really celebrates butter, so I decided to make some Scottish shortbread.

Butter. Flour. Sugar. A little salt. Shortbread is as simple as a cookie can get and that is part of its charm.

I was a little worried about how the homemade butter would work in the shortbread. Because I squeezed out the buttermilk by hand, I wondered if I'd managed to get it all out, and if I hadn't, would the shortbread hold together? Would it turn into a wet bubbling mess in the pan? Fortunately, it worked out just fine.


 The recipe I used is from the Joy of Cooking, the '97 version. This was one of the first cookbooks I was given after graduating from college, and it is still my go-to resource for most dishes.

:: :: :: :: ::

Scottish Shortbread
Joy of Cooking

Preheat the oven to 300.
Have ready an 8 x 8 baking pan. (I lined my pan with parchment paper because I know how delicate shortbread can be, and I didn't want to have any trouble getting them out of the pan. This may have been unnecessary.)

Beat on medium speed until fluffy and well blended:
10 tbs unsalted butter, softened
1/4 cup powdered sugar
1 1/2 tsp sugar
1/4 tsp salt

Gradually sift over the top while stirring:
1 1/2 cups all-purpose flour

Lightly knead until well blended and smooth. If the dough is too dry to hold together, sprinkle a few drops of water over it, adding only enough to hold the particles together and being careful not to overmoisten. Firmly press the dough into the pan to form a smooth, even layer. Pierce the dough deeply with a fork all over in a decorative pattern. Bake until the shortbread is faintly tinged with pale gold and just slightly darker at the edges, 40-50 minutes.

Remove the pan to a rack and let cool until barely warm. Cut almost through the dough to form bars. Let stand until completely cool. Retrace the cuts, and separate into bars.

Related Posts Plugin for WordPress, Blogger...