Showing posts with label butter. Show all posts

Saturday, March 26, 2011

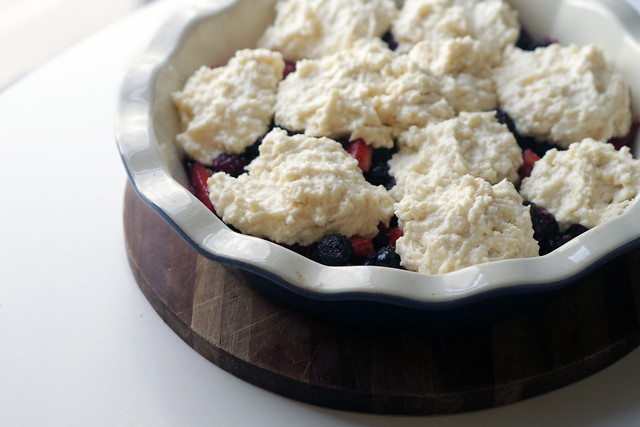
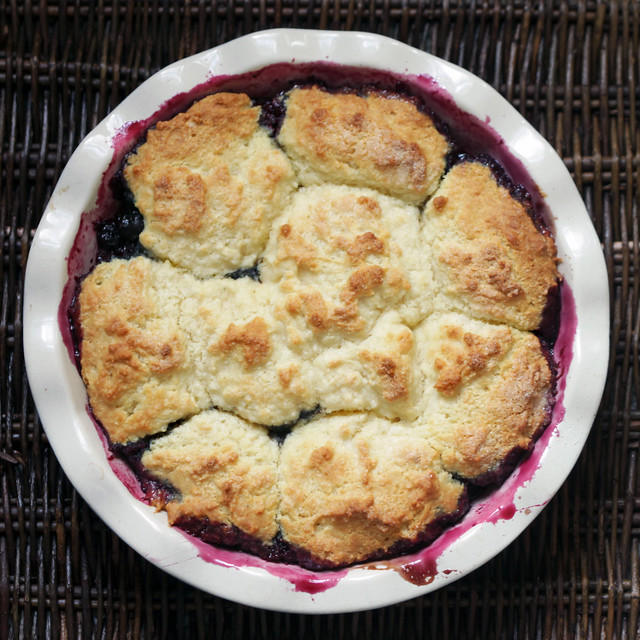
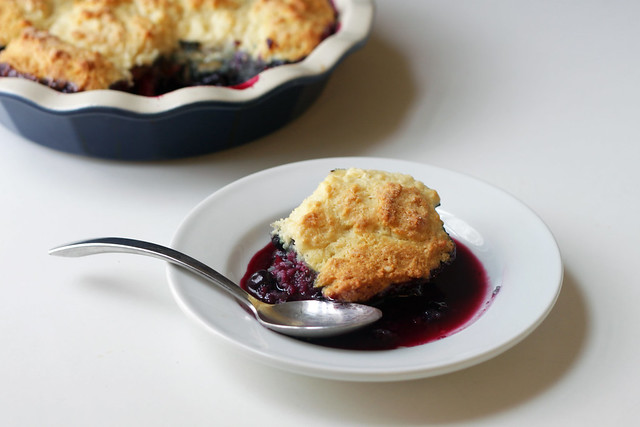
Buttermilk Wild-Berry Cobbler

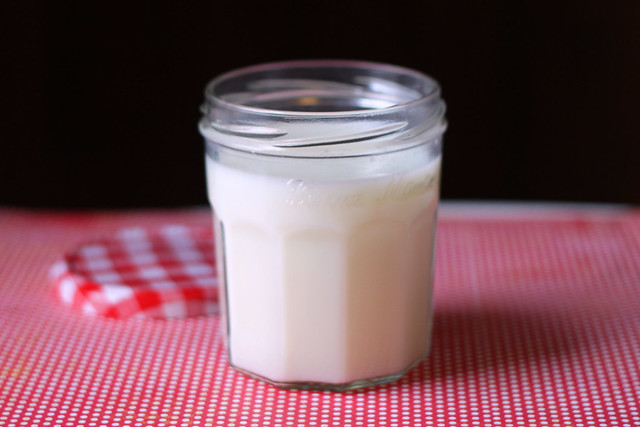
When you make your own homemade butter (and it is SO easy, so do it!), you end up with a tasty little by-product: fresh buttermilk. This is the real stuff. The buttermilk that you buy at the store is non-fat milk with lactic acid bacteria added to it, giving it a sour taste.


When I first thought of what I could do with buttermilk, I thought of biscuits. Yum... fresh buttermilk biscuits? Bring it. But then I was flipping through one of my favorite cookbooks, the infallible Hay Day Country Market Cookbook that I bought back in my Hudson Valley days, and I saw a recipe for Buttermilk Wild-Berry Cobbler. So... fresh buttermilk biscuits on TOP of delicious berries? There was no going back.

I also still had some homemade butter left over, so I used that to make the biscuit topping, as well. This was a very easy and delicious dessert, perfect for spring and summer. We've been spending a lot of time thinking about spring and summer these days.

:: :: :: :: ::

Buttermilk Wild-Berry Cobbler, from the Hay Day Country Market Cookbook by Kim Rizk

Fruit
Scant 4 cups mixed fresh berries (I used some fresh and some frozen): strawberries, blueberries, raspberries, and blackberries, gently rinsed and drained
2/3 cup sugar (Next time, I'd try less sugar. It was very sweet.)
Finely grated zest of 1 lemon
1 tbs fresh lemon juice
1/4 tsp ground cinnamon

Biscuit Topping
1 3/4 cups unbleached all-purpose flour
1 tbs baking powder
1 tsp baking soda
4 tbs sugar
5 tbs unsalted butter, at room temperature
1 cup buttermilk

1. Preheat oven to 375 F.

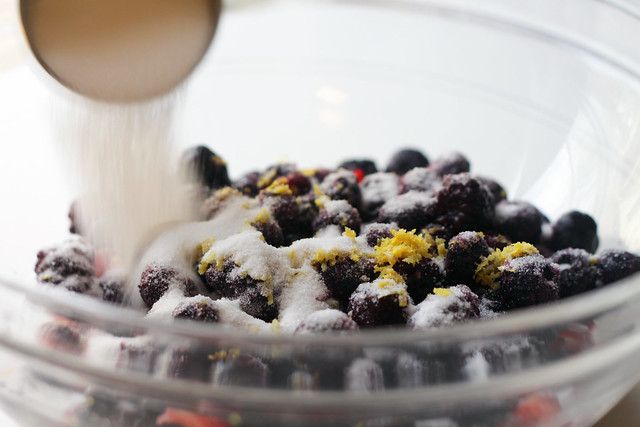
2. Prepare the fruit: Gently rinse and drain the berries. Hull and slice the strawberries; stem the blueberries. In a mixing bowl, toss the berries with the sugar, lemon zest, lemon juice, and cinnamon. Spoon into a 9-inch deep-dish pie plate or baking dish, and bake in the middle of the oven until the juices begin to bubble around the edges, about 10 minutes.

3. Meanwhile, prepare the topping: Stir and toss the flour, baking powder, baking soda, and 3 1/2 tbs of the sugar in a mixing bowl. Work the butter in with your fingertips or the tines of a fork to form a coarse meal. Then stir in the buttermilk to form a slightly soft, lumpy batter.

4. Remove the berries from the oven, and drop large spoonfuls of the batter over the fruit, approximately 1/2 inch apart (they will spread and bake together). Sprinkle with the remaining 1/2 tbs sugar, and bake until the topping is nicely browned and puffed and just cooked through between the biscuits, 20-25 minutes.
Friday, March 18, 2011

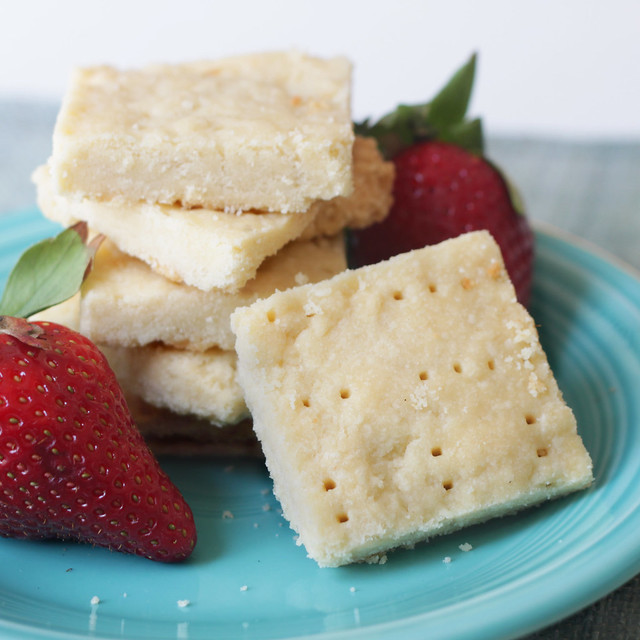
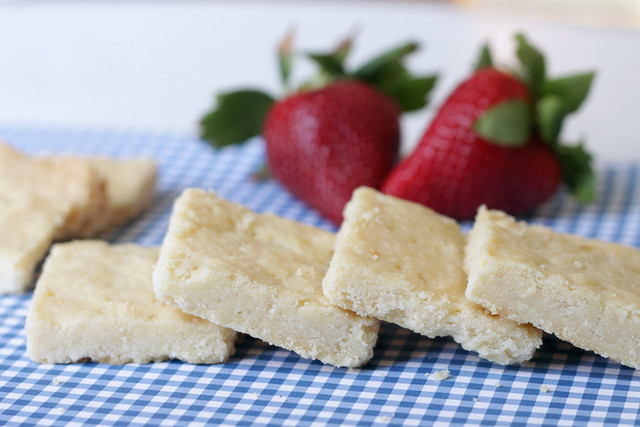
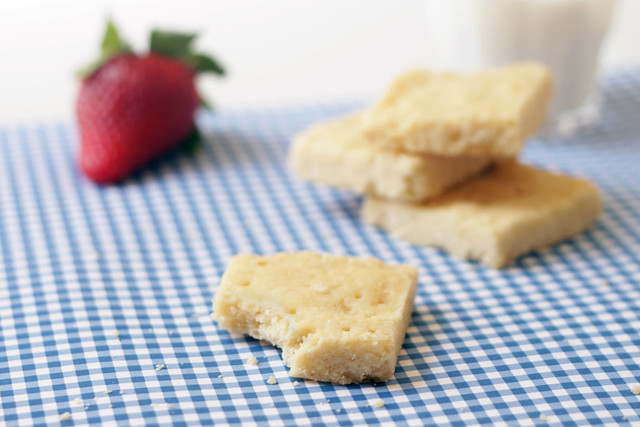
Scottish Shortbread

The other day we took a stab at making homemade butter in the food processor. It was absolutely delicious.

So here I am with about a cup and a half of lovely fresh butter wondering how I should use it. I will say that probably the best way to really appreciate the nuances of fresh butter is just slathering it on some fresh bread. Perfection. But I wanted to choose a recipe that really celebrates butter, so I decided to make some Scottish shortbread.

Butter. Flour. Sugar. A little salt. Shortbread is as simple as a cookie can get and that is part of its charm.

I was a little worried about how the homemade butter would work in the shortbread. Because I squeezed out the buttermilk by hand, I wondered if I'd managed to get it all out, and if I hadn't, would the shortbread hold together? Would it turn into a wet bubbling mess in the pan? Fortunately, it worked out just fine.


 The recipe I used is from the Joy of Cooking, the '97 version. This was one of the first cookbooks I was given after graduating from college, and it is still my go-to resource for most dishes.

:: :: :: :: ::

Scottish Shortbread
Joy of Cooking

Preheat the oven to 300.
Have ready an 8 x 8 baking pan. (I lined my pan with parchment paper because I know how delicate shortbread can be, and I didn't want to have any trouble getting them out of the pan. This may have been unnecessary.)

Beat on medium speed until fluffy and well blended:
10 tbs unsalted butter, softened
1/4 cup powdered sugar
1 1/2 tsp sugar
1/4 tsp salt

Gradually sift over the top while stirring:
1 1/2 cups all-purpose flour

Lightly knead until well blended and smooth. If the dough is too dry to hold together, sprinkle a few drops of water over it, adding only enough to hold the particles together and being careful not to overmoisten. Firmly press the dough into the pan to form a smooth, even layer. Pierce the dough deeply with a fork all over in a decorative pattern. Bake until the shortbread is faintly tinged with pale gold and just slightly darker at the edges, 40-50 minutes.

Remove the pan to a rack and let cool until barely warm. Cut almost through the dough to form bars. Let stand until completely cool. Retrace the cuts, and separate into bars.

Monday, March 14, 2011

Homemade Butter

I love butter. I've always been a whole milk, full-fat kinda girl, and I have no interest in replacing butter with other, supposedly less sinful, ingredients. You couldn't pay me to ingest margarine. Trying my hand at making it from scratch just made sense. Sarah informed me that it is actually really easy.
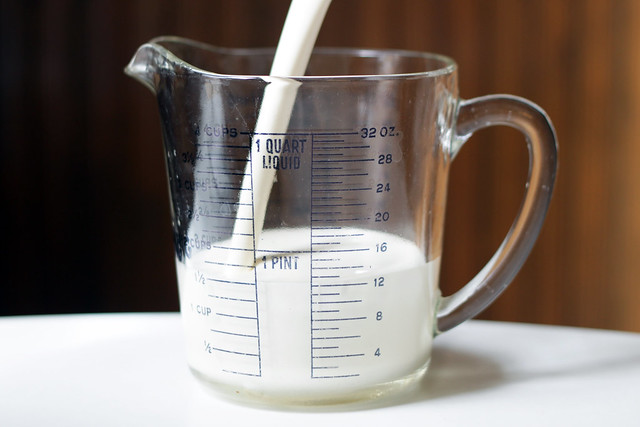
first step to making butter - heavy cream
"Didn't you ever make it in elementary school?" She asked. "Everyone in the class took a turn shaking a jar of cream until they got tired, and then they just passed it to the next person."
Wow, well that does sound easy, but I am sure that Sarah and I combined do not have the jar-shaking strength of a classroom of eight year olds. Brilliantly, you can make butter in a food processor. Or a blender. Or a stand mixer. Basically, whatever you have that can beat the bejeezus out of cream will do the job for you, and it doesn't take long at all.
pouring cream into food processor
I bought two pints of organic heavy whipping cream and poured that on into the food processor. (That is four cups.) The only other ingredient you need is salt to taste.
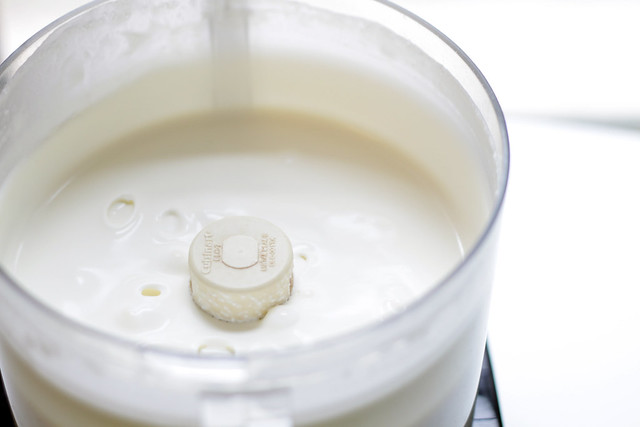
Go ahead and start processing. After a while, the cream turns into (no surprise here) whipped cream. Keep on going.
whipped cream
A minute or so later, the cream looks almost a bit grainy. But still delicious.
next, whipped cream becomes grainy
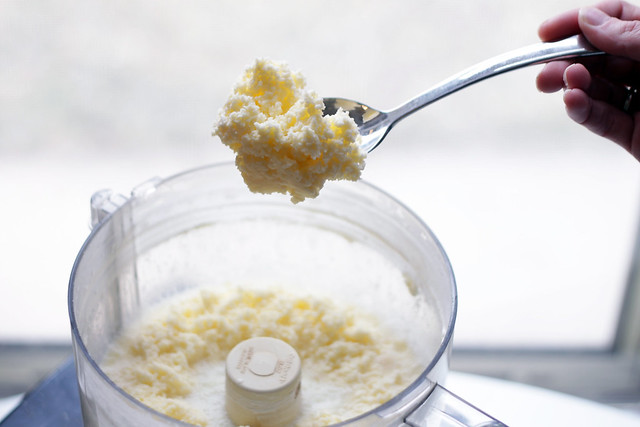
After a minute or so more it starts to get really curdled looking and then finally, this is the exciting part, the buttermilk starts to separate from the butter. Yup, I said it, butter!
suddenly the butter separates from buttermilk!
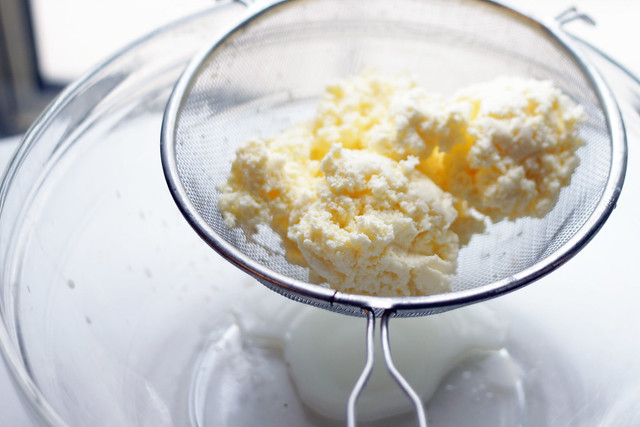
Let it go a bit more to be sure the cream has completely separated. Then it is time to strain the buttermilk off of the butter. We put a strainer over a large bowl and dumped it all in there. The buttermilk goes into the bowl (and we saved it for use in future recipes.)
butter in strainer to remove buttermilk
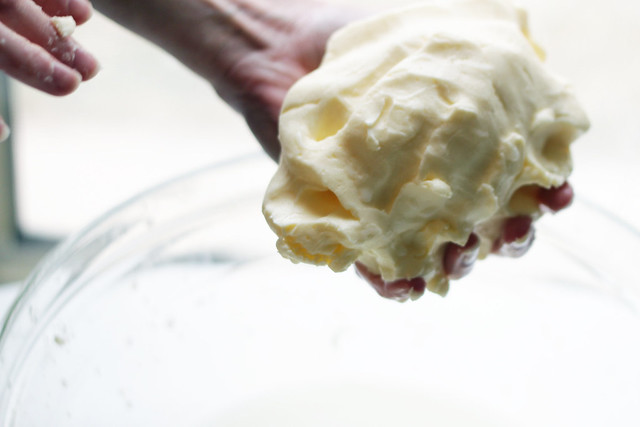
Pick up your mass of butter and knead it a bit to squeeze the rest of the buttermilk out. It is surprising how much is still in there even though it seems rather firm.
knead the butter ball to remove more liquid
Now that you've squeezed the excess liquid out, you can mix in the salt, if you like. We kept half of ours unsalted, and then added about 1/4 tsp of kosher salt to the rest. We probably got about two or two and a half cups of butter out of the four cups of cream. Cover it and store it for up to two weeks.
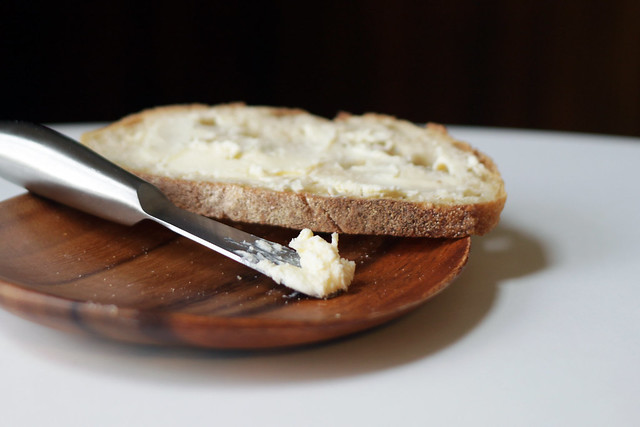
freshly churned butter on toast

mmm...fresh homemade butter!
We were really salivating over our butter while we took the photos, and could not wait to sample it on some toast. It was a big payoff. So delicious! It is hard to put into words how much tastier it is than non-homemade butter. It really just tastes so... fresh.


fresh homemade butter on toast
Related Posts Plugin for WordPress, Blogger...