Showing posts with label condiment. Show all posts

Thursday, May 31, 2012

Homemade Mayonnaise

Sarah and I have been talking about doing homemade mayo for what feels like forever. Now we're experiencing summer temperatures in Colorado, and our thoughts are on picnic baskets, baguette sandwiches, and potato salads. I am not a huge mayo fan, and I have always used it sparingly on sandwiches, if at all. It was a great point of contention when I discovered that my husband's family dips their artichoke leaves in mayonnaise. (Melted butter, am I right?) But homemade mayo is a whole different creature than the supermarket stuff. Is anyone surprised?
I recently bought the gorgeous cookbook Around My French Table by Dorie Greenspan. I'm pretty sure that everyone else in the blogosphere (did I really use that word?) already owns this hefty tome, but I tend to be late to the party. When we decided to finally make mayo, I thought Dorie was just the woman to turn to. Of course, I did not read the recipe from start to finish beforehand, and I flubbed it on my first go. (Note to self: read the damn thing first.)
So take it from me, when the recipe says to go slow and literally add the oil drop by drop, it truly means literally. It isn't to say that it takes very long to make mayo (unless you have to start all over again). It actually doesn't take long at all. You just need to do it right. Drop by drop.

Also, I tried it in my food processor which has a gracious 14-cup capacity (love that thing), but it didn't work for this because it was just too big. I switched over to my handy stick blender, and finally things started happening. So if you have a large food processor, use the small bowl attachment, or try another mixing method.

Homemade Mayonnaise

  • 1 large egg yolk, at room temperature
  • 2 tsp white wine vinegar
  • 1/4 tsp Dijon mustard
  • 1/2-1 cup oil, mild (such as grapeseed or canola) or more flavorful (we used olive), or a combination
Put the yolk, vinegar, and the mustard in a bowl, blender, or food processor. Whisk or whir to blend. Drop by drop (literally!! don't go to fast here...) start adding the oil, mixing all the while. When you've got about 1/4 cup oil beaten in and the mix is starting to look like mayonnaise (around 4 minutes or so), you can add the remaining oil more steadily, but still slowly. Use at least 1/2 cup oil, and up to about 1 cup to get the consistency you want. We only used the minimum 1/2 cup oil, and we liked how thick and flavorful the result was.

Thursday, February 2, 2012

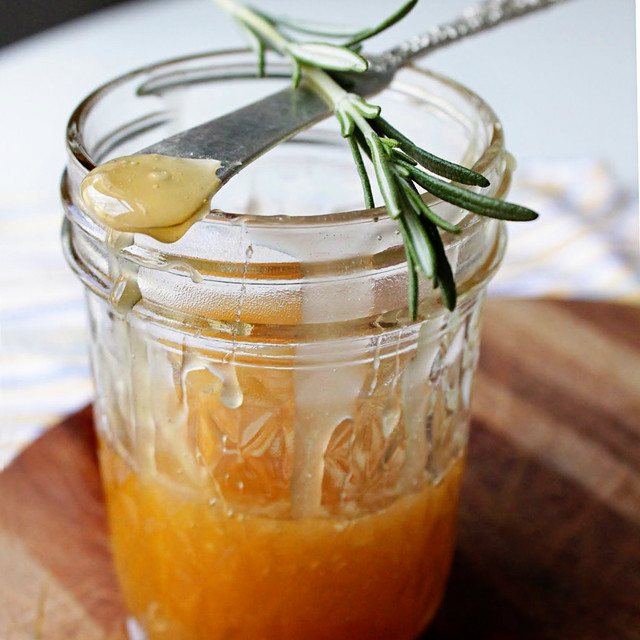
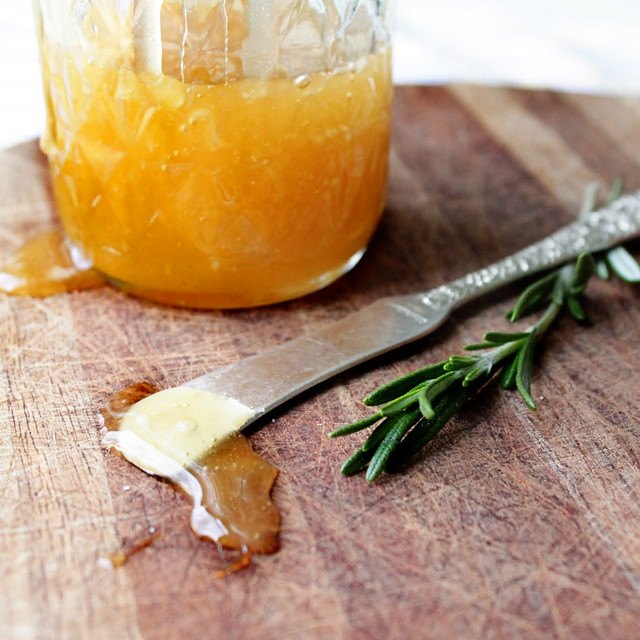
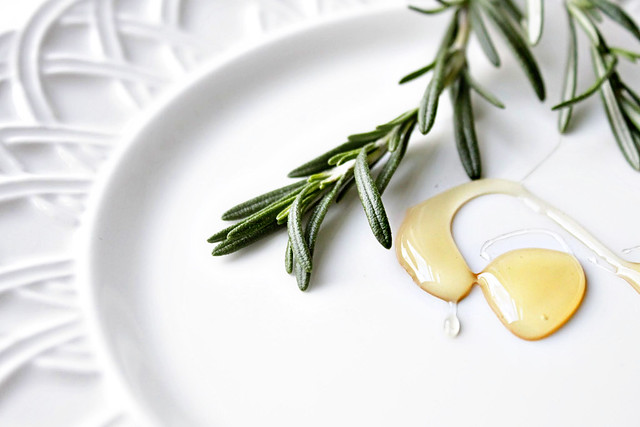
Rosemary Honey

Lately, I have really been loving Bon Appetit: gorgeous photography, modern style, and solid recipes. In the current issue, the southern issue, there were a couple of easy little recipes hidden among the pages that immediately caught my eye. The first was a recipe for rosemary honey.
In the dead of Colorado's winter, there isn't much produce to be playing around with, and it is time to look into the depths of your pantry for inspiration. A rosemary-infused honey is just the thing to keep my palate interested. I did have to run to the store for some rosemary sprigs, but by this time next year I'm hoping to have a little rosemary plant in my kitchen.
While delicious, Bon Appetit's recipes don't tend to be simple. So I was pleased to find a recipe like this one: less than 5 ingredients (all easy to find) and just a few minutes at the stove. They included this recipe as an embellishment for their skillet-fried chicken, but we have plans for drizzling it over some tasty biscuits (stay tuned). But with all this drizzling, I did realize that my kitchen is sadly lacking one of these.
Rosemary Honey
  • 1/2 cup honey
  • 1 tbs unsalted butter
  • 1 rosemary sprig
  • pinch of salt
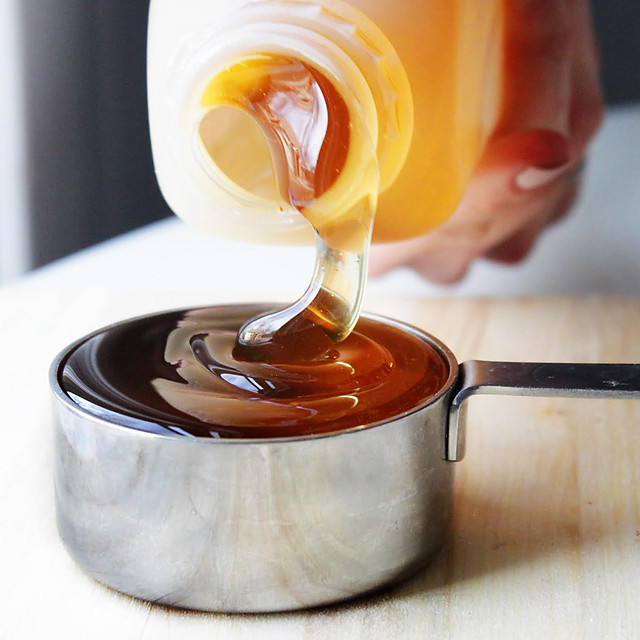
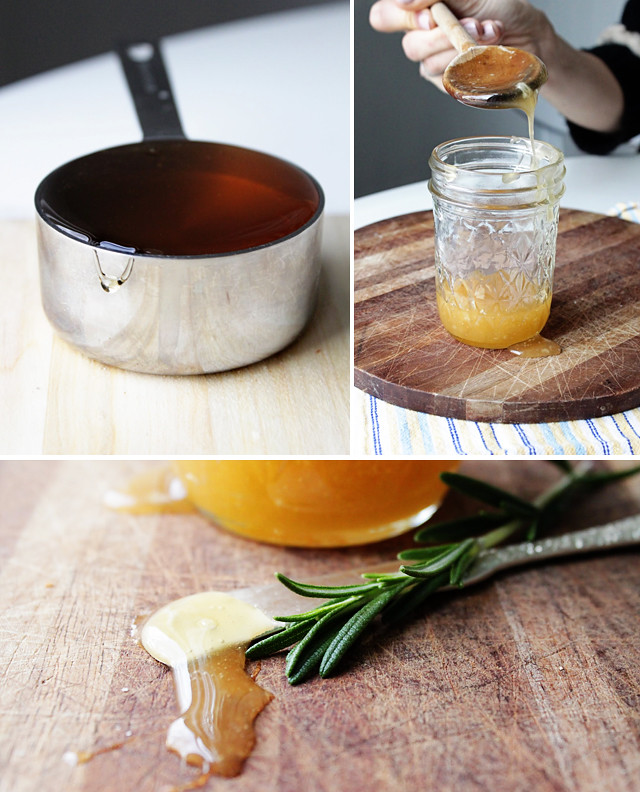
Bring everything to a simmer in a small saucepan over medium-low heat. Remove from heat and let steep for 30 minutes. Serve right away, or pour into jar and refrigerate.

Sunday, January 1, 2012

Mint Sugar

Here’s a fresh, simple recipe with endless potential. This mint sugar is comprised of lots of spicy fresh mint leaves whirred together with sugar in a food processor. That’s it!
mint sugar 2
The final product is sweet, yes, but it’s also refreshing and even a bit earthy. The ratio is 2:1 sugar to mint, so there’s really quite a lot of minty goodness packed in here.
mint sugar 3
This makes a great condiment to sprinkle on, say, a winter citrus salad. Or a unique sugared rim for a new cocktail.
mint sugar 1
Appropriate for winter, but with a breath of summer freshness, this is just what we needed to start off January right.

Mint Sugar

  • 1/4 c packed fresh mint leaves
  • 1/2 c sugar
Combine ingredients in a food processor and whir together until mint is finely chopped and evenly distributed. The final product looks remarkably like pesto. Due to the large amount of fresh mint in this recipe, it really doesn't last long. I'd recommend making just what you want to use in one day.
mint sugar 4

Tuesday, November 29, 2011

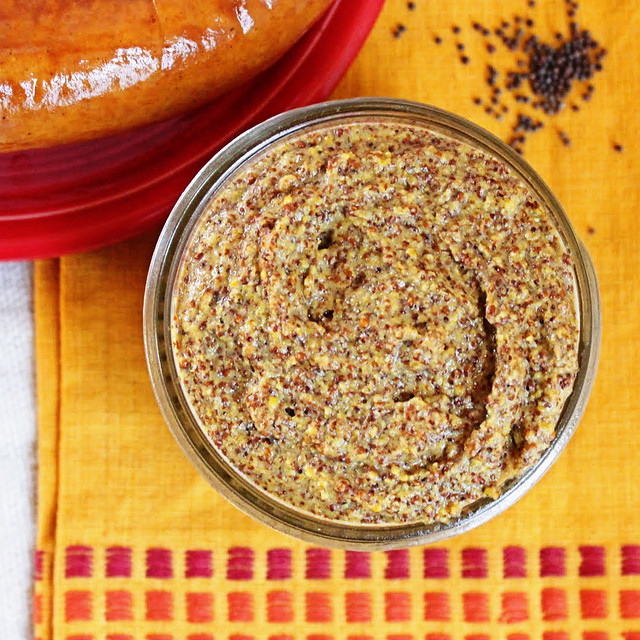
Spicy Brown Mustard

When we initially tried to think of some homemade ingredients to create over the fall and winter months, we rejected the idea of mustard. Mustard conjured up images of sunny, summer barbecues. But then we realized that mustard is by no means seasonal, and there's just as much need for a spicy winter mustard to slather on sausages during those chilly months.
We stumbled upon a recipe for spicy mustard using Guinness over at Saveur which sounded great, except we wanted to use a stout beer from one of our awesome local breweries. Our town, the lovely Longmont, CO, is home to two excellent breweries that have been receiving much national attention lately: Oskar Blues Brewery and Left Hand Brewing Company. We used a bottle of Left Hand's Milk Stout Nitro in our spicy brown mustard.
As it turns out, mustard is super easy to make, but you do need a few days to let the mustard seeds soak up all that beer and all the flavors to meld together. But the active time is practically nil. This mustard was spicy and zesty and way more exciting than the other off-the-shelf mustards hanging out in our fridge.
Spicy Brown Mustard
  • 6-oz. stout beer of your choice (half a bottle)
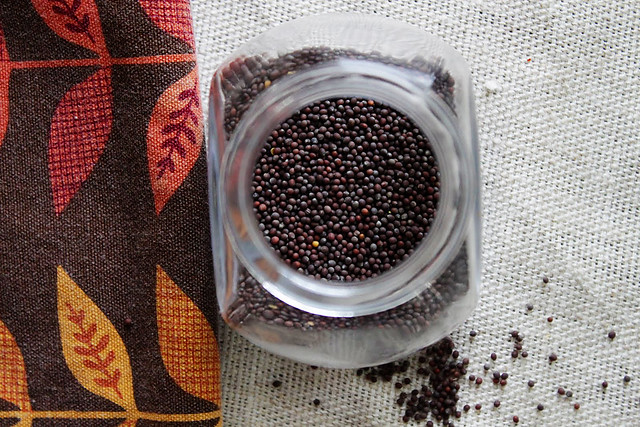
  • 3/4 cup brown mustard seeds
  • 1/2 cup red wine vinegar
  • 1 tsp. kosher salt
  • 1/2 tsp. black pepper
  • 1⁄8 tsp. ground cinnamon
  • 1⁄8 tsp. ground cloves
  • 1⁄8 tsp. ground nutmeg
  • 1⁄8 tsp. ground allspice
1. Combine ingredients in a nonreactive mixing bowl. Cover with plastic wrap and let sit at room temperature for 1–2 days so that the mustard seeds soften and the flavors meld. 2. Transfer the mixture to the bowl of a food processor and process, stopping occasionally to scrape down the sides of the bowl with a rubber spatula, until the seeds are coarsely ground and the mixture thickens, about 3 minutes. Transfer to a jar and cover. 3. Refrigerate overnight and use immediately or refrigerate for up to 6 months.

Sunday, November 27, 2011

Green Chile Sauce

This bright sauce, made from freshly roasted green chiles along with a little garlic and onion, is an excellent topping for roasted meats of all kinds.  I’m looking forward to using it on leftover Thanksgiving turkey!

We originally made this sauce for our October dinner party, featuring slow cooker carnitas, but I have since used it across the board to great success.  It’s fresh tasting because it is made almost completely with green chiles, and is spicy but not terribly so. 

Chile Verde Sauce

Keep in mind the spiciness is completely determined by the variety of green chiles you use.  I used Big Jim once, and then another unidentified smaller chile of the “medium spicy Mexican variety”.  Freshly roasted is best; we haven’t attempted this with the canned green chiles but if anyone does please report back as those are more readily available year round.

Green Chile Sauce

  • 1/2 onion, diced
  • oil for sautéing
  • 2 cloves garlic, minced
  • 1 Tbsp flour
  • 8 oz (approx 2 cups) roasted & peeled green chiles.  I used the Big Jim variety, which is common in Colorado farmers’ markets
  • 1 tsp salt
  • 1 cup chicken broth or water

sauté the onion and garlic in the oil until nicely browned & aromatic.  Sprinkle the flour over the top and sauté for an additional one minute.

Peel & seed the roasted green chiles.  I did this under running water, which definitely made it a little easier. 

Add chiles, salt, and chicken broth to the skillet with onions & garlic and simmer for a few minutes to thicken slightly.  Pour everything into your food processor or blender and process until smooth.

Transfer to glass jars for storage – keeps in the fridge for 3-4 days, or can be frozen for months.

Wednesday, November 9, 2011

Homemade Crème Fraîche

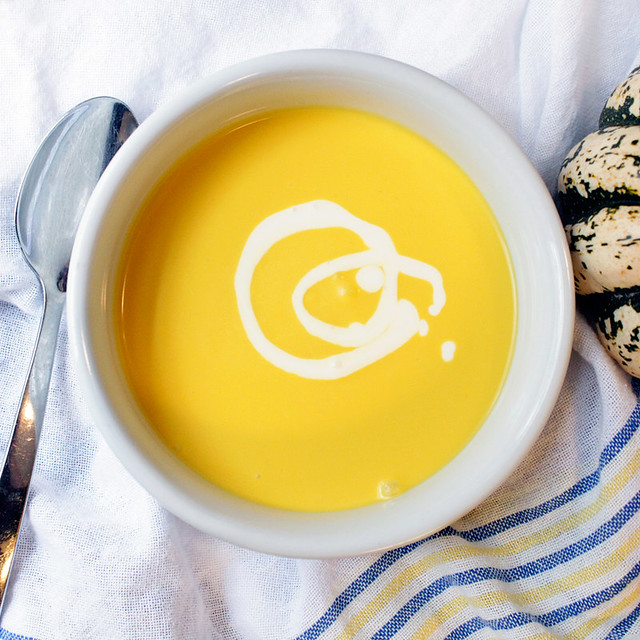
It was only relatively recently that I got to know crème fraîche. I knew about it, and I'd sampled it here and there, but I'd never really appreciated it. This French staple is a soured cream which is not as sour as sour cream. It is equally at home drizzled over fresh summer berries as it is stirred into a soup or sauce.
 This was the first recipe that we tried out of the very cool book Home Dairy with Ashley English, part of Lark Crafts' Homemade Living series. Ashley English is doing so much of what we wish we could be doing. Yes, we make as much from scratch as we can, and we've dabbled in dairy-making. But Ashley is the urban homesteading queen: cheesemaking, canning and preserving, beekeeping. She's doing it all. We started with crème fraîche largely because it doesn't require any special ingredients or tools.
 Crème fraîche is very expensive to buy at the store and very easy to make at home. All you need is some heavy cream, buttermilk, and a thermometer. Originally, crème fraîche would have been made with unpasteurized fresh cream, and the bacteria necessary to thicken the cream would have been present right out of the cow. Because most of us only have access to pasteurized cream, we need to add those bacteria with a couple spoonfuls of buttermilk.
 Homemade Crème Fraîche
  • 1 cup heavy cream
  • 2 tbs buttermilk
1. Warm the cream gently in a small saucepan over medium-high heat until it reaches 85F. 2. Transfer the cream to a glass or ceramic container. Using a metal spoon, stir in buttermilk. Mix until well-incorporated. 3. Cover the container with a plate or lid, and leave it at room temperature for 12 hours (or up to 24 hours. 4. After the culturing time, your cream should have noticeably thickened. (It will continue to thicken a bit more in the fridge.) Store in an airtight container in the refrigerator and use within one to two weeks.

Sunday, September 25, 2011

Homemade Pizza Sauce

This pizza sauce is so simple to make. We used fresh oregano for its intense spicy flavor, but dried will work too if it’s the wrong time of year for fresh. There are lots of other herbs, plus garlic, in this baby. It knocks the socks off of store bought pizza sauce (which I always think is too sugary).

Oregano and tomatoes: the two most important ingredients in pizza sauce. Aren’t they fresh and pretty?

Fresh Oregano & Tomato

If you’ve been growing oregano you will probably discover that it’s been crawling around down low under every other plant in the garden, secretly attempting to put down little roots.  Almost as bad as mint!
Homemade Pizza Sauce

I love when I can report that a homemade ingredient is less expensive (in addition to better tasting) than its store-bought counterpart.  If you’ve got a stockpile of dried herbs in the pantry, the cost to make this sauce is about equal to a 28 oz can of tomatoes.  What’s that…$1.50?  Not bad.

Psst, check out our homemade pizza dough recipe, too!

Fresh oregano & tomato

Homemade Pizza Sauce

Thank you to Annie’s Eats for the recipe inspiration.
  • 28 oz can of diced or crushed tomatoes
  • 3 Tbsp olive oil
  • 1 Tbsp dried basil
  • 1.5 tsp fresh oregano (or 1 tsp dried)
  • 1 tsp red pepper flakes (or less…1 tsp made this sauce too spicy for the toddlers!)
  • 1/4 tsp salt
  • 3-4 garlic cloves, minced
Combine all ingredients in a medium saucepan.  Bring to a boil, then reduce the heat to achieve a simmer.  Allow to simmer for 15-20 minutes, or until it is no longer watery and instead becomes thick and saucy.  Transfer to a food process and run for 30 seconds to create a smoother (but not totally smooth) sauce.  Store in glass mason jars in the fridge.

If you’re interested in canning this pizza sauce, just add lemon juice to the jars prior to adding the sauce.  More info here, or in Ashley English’s book Canning & Preserving.
Homemade Pizza Sauce

Wednesday, July 27, 2011

Blueberry Vanilla Compote

Making compote is so simple and so delicious.  It’s a truly excellent way to preserve summertime fruits of all sorts.  We enjoyed a springtime compote of strawberry and rhubarb, but now we’ve moved on to a mid-summer fruit: the blueberry.

Blueberry Vanilla Compote

 I have really been enjoying a new-to-me book recently: Preserving Food without Canning or Freezing.  It discusses how to use sugar, salt, alcohol, oil, etc to preserve food.  These are truly efficient and low cost methods from ye olden days.  One of the highlights of how this book is written is that it’s not just one author’s list of recipes.  Instead the author requested recipes, via a kind of gardening club magazine, for preserving things from people all over Europe.  The resulting submitted recipes are printed in the submitter's own voice.  There are literally recipes for preserving 70 lbs of cabbage from the Ukraine, fermented tomato paste balls from Italy, and much more.

This recipe isn’t from the book per se, but compote does use sugar as a preservative.  I always thought canning was necessary but it turns out that isn’t always the case.

Blueberry Vanilla Compote

I love compote because it’s a great way to use fruit that you know you won’t have time to eat before it goes bad. 

Blueberry Vanilla Compote

Did I mention that blueberry vanilla compote goes really well with baguette & goat cheese?

Blueberry Vanilla Compote

The vanilla rounds out the flavor, while the lemon zest perks it up and saves it from being cloying.  We’ve got many more ideas on how to enjoy it up our sleeves, as well…

Blueberry Vanilla Compote

Blueberry Vanilla Compote
adapted from Kitchen Confidante

  • 2 cups fresh blueberries
  • 1 cup sugar
  • 1/2 cup apple juice
  • 1 teaspoon vanilla extract
  • zest & juice of 1 lemon
Combine the blueberries, apple juice, and sugar in a saucepan.  Simmer gently for 15 minutes or so.  The longer you simmer, the thicker and more jam like the final product will be. When the compote is thick enough to coat the back of a spoon, stir in the vanilla extract, lemon zest, and lemon juice.  Remove from the heat, spoon into jars, and store in the refrigerator.  These will last a minimum of one month, but due to the preservative effects of sugar, it will mostly likely last for up to 6 months.
Yield: about 2 cups of compote.

Blueberry Vanilla Compote

Friday, July 22, 2011

Homemade Harissa

I’m obsessed with pinterest.  I especially love it as a place to collect delicious looking food photos, complete with links back to the recipes so you can make them at a later date.  I like it for home décor, fashion, and collecting cute pictures in general, but that’s beside the point.  In fact, to get to my point…I’ve been seeing harissa all over the place on Pinterest.  It’s a spicy, garlicky, north African condiment.  Sign me up!
harissa 1
I used a recipe for Garlic Scape Harissa from Tigress in a Pickle as my inspiration, but then delayed using my CSA garlic scapes for so long that I just had to revert back to regular garlic. 
harissa 2
The ingredients are dried adobo chilis, sundried tomatoes, olive oil garlic, coriander, and caraway. Dulcie confessed that caraway is her MOST HATED TASTE in the world, but the other flavors in this harissa are so strong that she managed to not choke when she tasted it. In fact, I am pretty sure she liked it. {dulcie's comment: This is true! I forgot entirely that caraway seed was even an ingredient!}

harissa 3
There are as many ways to use harissa as there are ways to use hot sauce.  I tried it out with toasted pita bread, butter, and hard boiled eggs first.  It was so good.  A northern African take on eggs with toast?  Or maybe just a made up concoction in my own Colorado-based head.  Either way – I highly recommend it.
harissa 5

Harissa

  • 6 dried adobo chilis
  • 4 smallish sun-dried tomato halves (not packed in oil)
  • 4 big cloves of garlic
  • 1/2 teaspoon caraway seed
  • 1.5 teaspoon ground coriander
  • 1/2 teaspoon salt
  • 3 tablespoons olive oil (approx)
Soak the dried chilis and tomato in warm water for 10 minutes until softened.
Attempt to grind the caraway seed with a mortar and pestle.  I didn’t have much success so just kind of gave up, so I deem this an uncritical step.
Add everything but the olive oil to your food processor.  Use the small insert-bowl if you have one; the final quantity is only about 1/3 cup.  Start your food processor running, stopping to scrape down the sides periodically.  When things are looking finely chopped, start drizzling in the olive oil while the food processor runs.
Store in a glass jar in the fridge for up to a month.
harissa 4

Tuesday, July 5, 2011

Lemon Thyme Dressing

Summer is here!  It’s hot, it’s sometimes humid (weird for Colorado), and so obviously you need a nice fresh dressing.
Lemon Thyme Dressing

Lemon Thyme Dressing


This is my current favorite summer salad dressing. It’s a traditional vinaigrette base fancied up with lemon zest and fresh thyme from the garden.
Lemon Thyme Dressing

We enjoyed it as part of our July Dinner Party (both on the salad, and on the arugula that graced the prosciutto gruyere tart).  We finished it off the very next day on a bag of spicy greens from our CSA.  It is very easy to make – just combine everything in the blender and then pour into a lovely little glass jar.  Done!

Lemon Thyme Dressing

  • Zest of one lemon
  • 1 Tbsp fresh thyme leaves
  • Juice of one lemon (about 2 Tbsp)
  • 2 Tbsp white balsamic vinegar
  • 1/2 cup olive oil
  • 1/2 tsp sea salt
  • 1/2 tsp black pepper
Blend all ingredients but olive oil in a blender until smooth.  Then drizzle in the olive oil slowly while the blender is running – this helps emulsify the dressing so it doesn’t separate.  Store in fridge for up to 4 weeks.
Lemon Thyme Dressing

Sunday, May 29, 2011

Homemade Ketchup

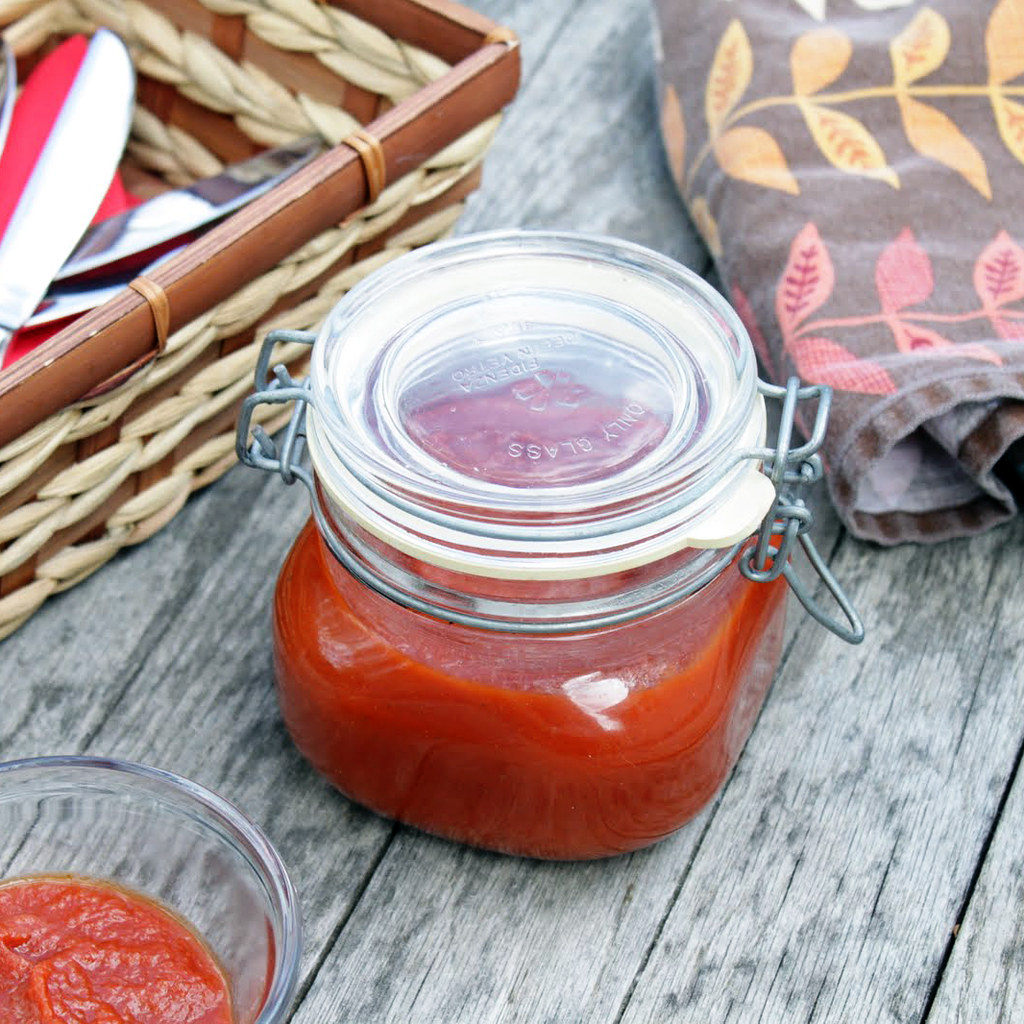
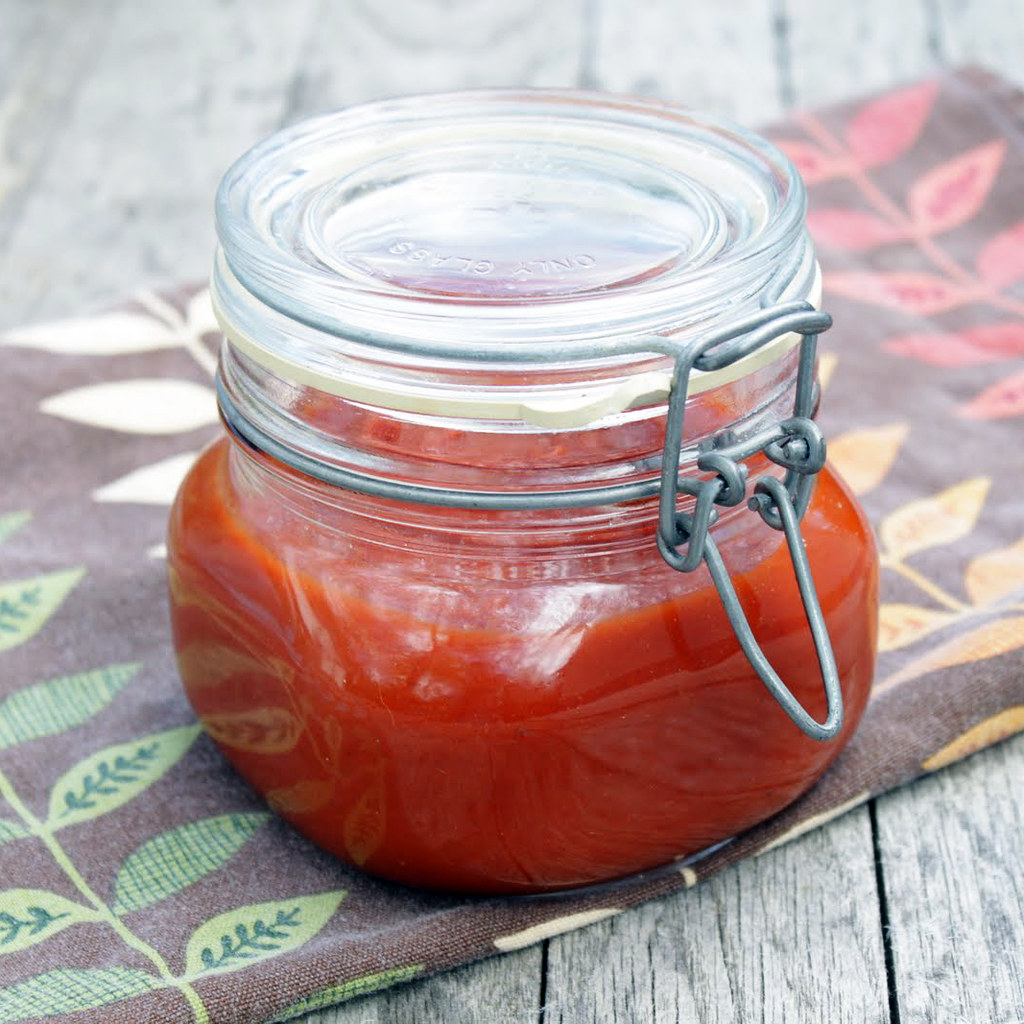
The season of outdoor grilling is finally upon us, so we decided it was time to attempt some homemade ketchup!

homemade ketchup
We scoured the internet for recipes, looking for one that would be similar in texture to a bottled ketchup. Let's face it: Heinz knows what they're doing. In fact, the always excellent New Yorker did a piece several years back which details why Heinz's ketchup is our taste buds' wet dream. It his all five of our fundamental tastes, including that elusive little minx known as umami. So while it seems strange to aspire to Heinz, that ketchup is boss.

homemade ketchup
The recipe we found that seemed most like what we wanted was over at Serious Eats. Their recipe called for tomato puree, but we only found crushed tomatoes at our little local market. We knew we were going to whip it all up in a food processor anyway, so we decided to proceed. When we tasted our finished product, we were a little wowed by the sweetness. But we were tasting the ketchup straight up, without the usual implement of a salty French fry. When we did a taste test with Heinz's organic ketchup, we were surprised to find out that the Heinz was just as sweet. (Oh, so that is why my toddler wants to spoon it straight into her mouth.)

If I were to make it again, I'd reduce the amount of sugar, even if just by a bit (and if you are concerned about sugar content, I'd urge you to do the same). Sweetness aside, the homemade ketchup was brighter and zestier than the Heinz, while the Heinz had a stronger tomato paste taste. In our version, you could really taste the different spices, while it is a bit of a muddle in the Heinz. There's nothing like the convenience of having that bottle of Heinz in the back of your fridge (which seemingly lasts forever - yipes!) but homemade ketchup is a super tasty and lasts a month -- lasting through more than a few backyard get-togethers.

homemade ketchup

Homemade Ketchup

  • 2 tablespoons olive oil
  • 1 small onion, chopped medium
  • 1 clove garlic, minced
  • 1 28-oz can crushed tomatoes
  • 1/2 cup packed dark brown sugar
  • 1/4 cup cider vinegar
  • 1 tablespoon tomato paste
  • 1/2 teaspoon kosher salt
  • 1/2 teaspoon ground mustard
  • 1/8 teaspoon ground cloves
  • 1/8 teaspoon allspice
  • 1/8 teaspoon cayenne pepper

1. Heat oil in sauce pan over medium heat. Add onion and cook, stirring occasionally, until soft, about 5 minutes. Add in garlic and stir until fragrant, about 30 seconds. Stir in the rest of the ingredients, bring to boil and then reduce heat to low and simmer until thick, stirring occasionally, for 45 to 60 minutes. 

2. Puree in food processor until smooth. 

3. Wash and dry saucepan, then place a fine mesh strainer over top. Pour ketchup in the strainer and, using a spatula, force through all of the ketchup. 

4. Taste ketchup and adjust seasonings if necessary. Pour ketchup into a jar, seal, and store in the refrigerator for up to a month.


homemade ketchup

Related Posts Plugin for WordPress, Blogger...